How to Clay Bar a Car: Decontaminate Paint After Washing (and When to Skip It)
Washed paint can look clean and still feel like sandpaper. That roughness is bonded contamination — and removing it is the step most people skip before polishing or waxing.
We choose products from research, not brand deals. If you buy through our links, we may earn a commission from Amazon at no extra cost to you. How we choose & earn
- Time:
- 30–45 minutes
- Difficulty:
- Beginner
- Steps:
- 6
What you'll need
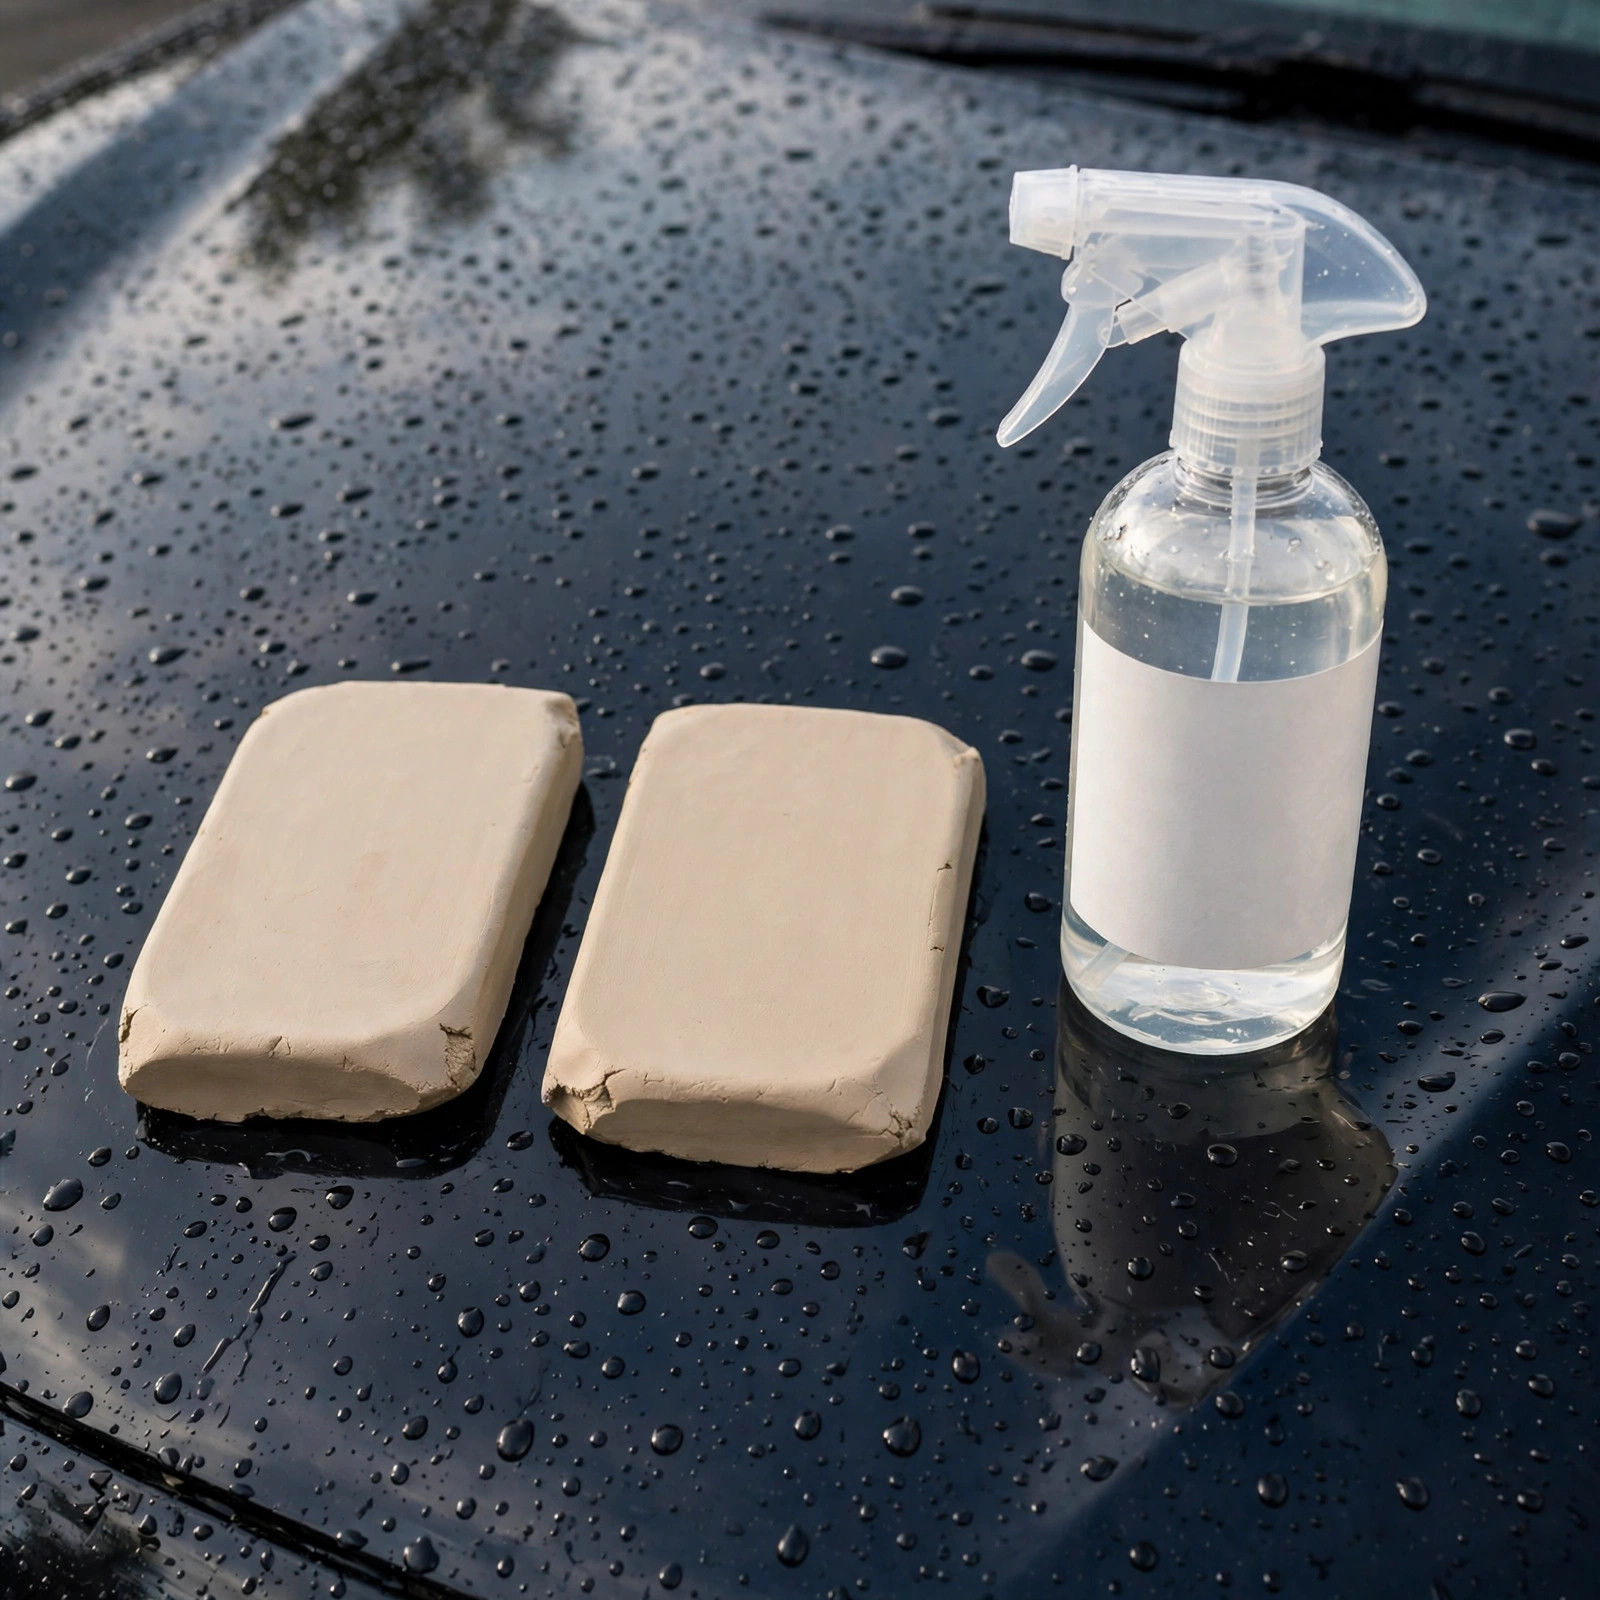 Chemical Guys OG Clay Bar & Luber KitClay bar plus Clay Luber spray lubricant for removing bonded contamination (fallout, brake dust, overspray) after washing.Check price on Amazon(opens Amazon, paid link)
Clay comes after a proper wash — if you haven’t done one, start with how to wash a car without scratches.
Run your fingertips over the hood inside a thin plastic bag after a wash. If it feels gritty, that is industrial fallout, brake dust and road film bonded to the clear coat. Waxing over it seals the grit in; polishing over it drags it around. Clay pulls it off. You do not need to clay often — once or twice a year for a daily driver is typical — and you only need it when the baggie test says so.
Step-by-step
Step 1: Wash and dry the car first
Clay is not a wash substitute. Any loose dirt left on the panel will be dragged under the bar.
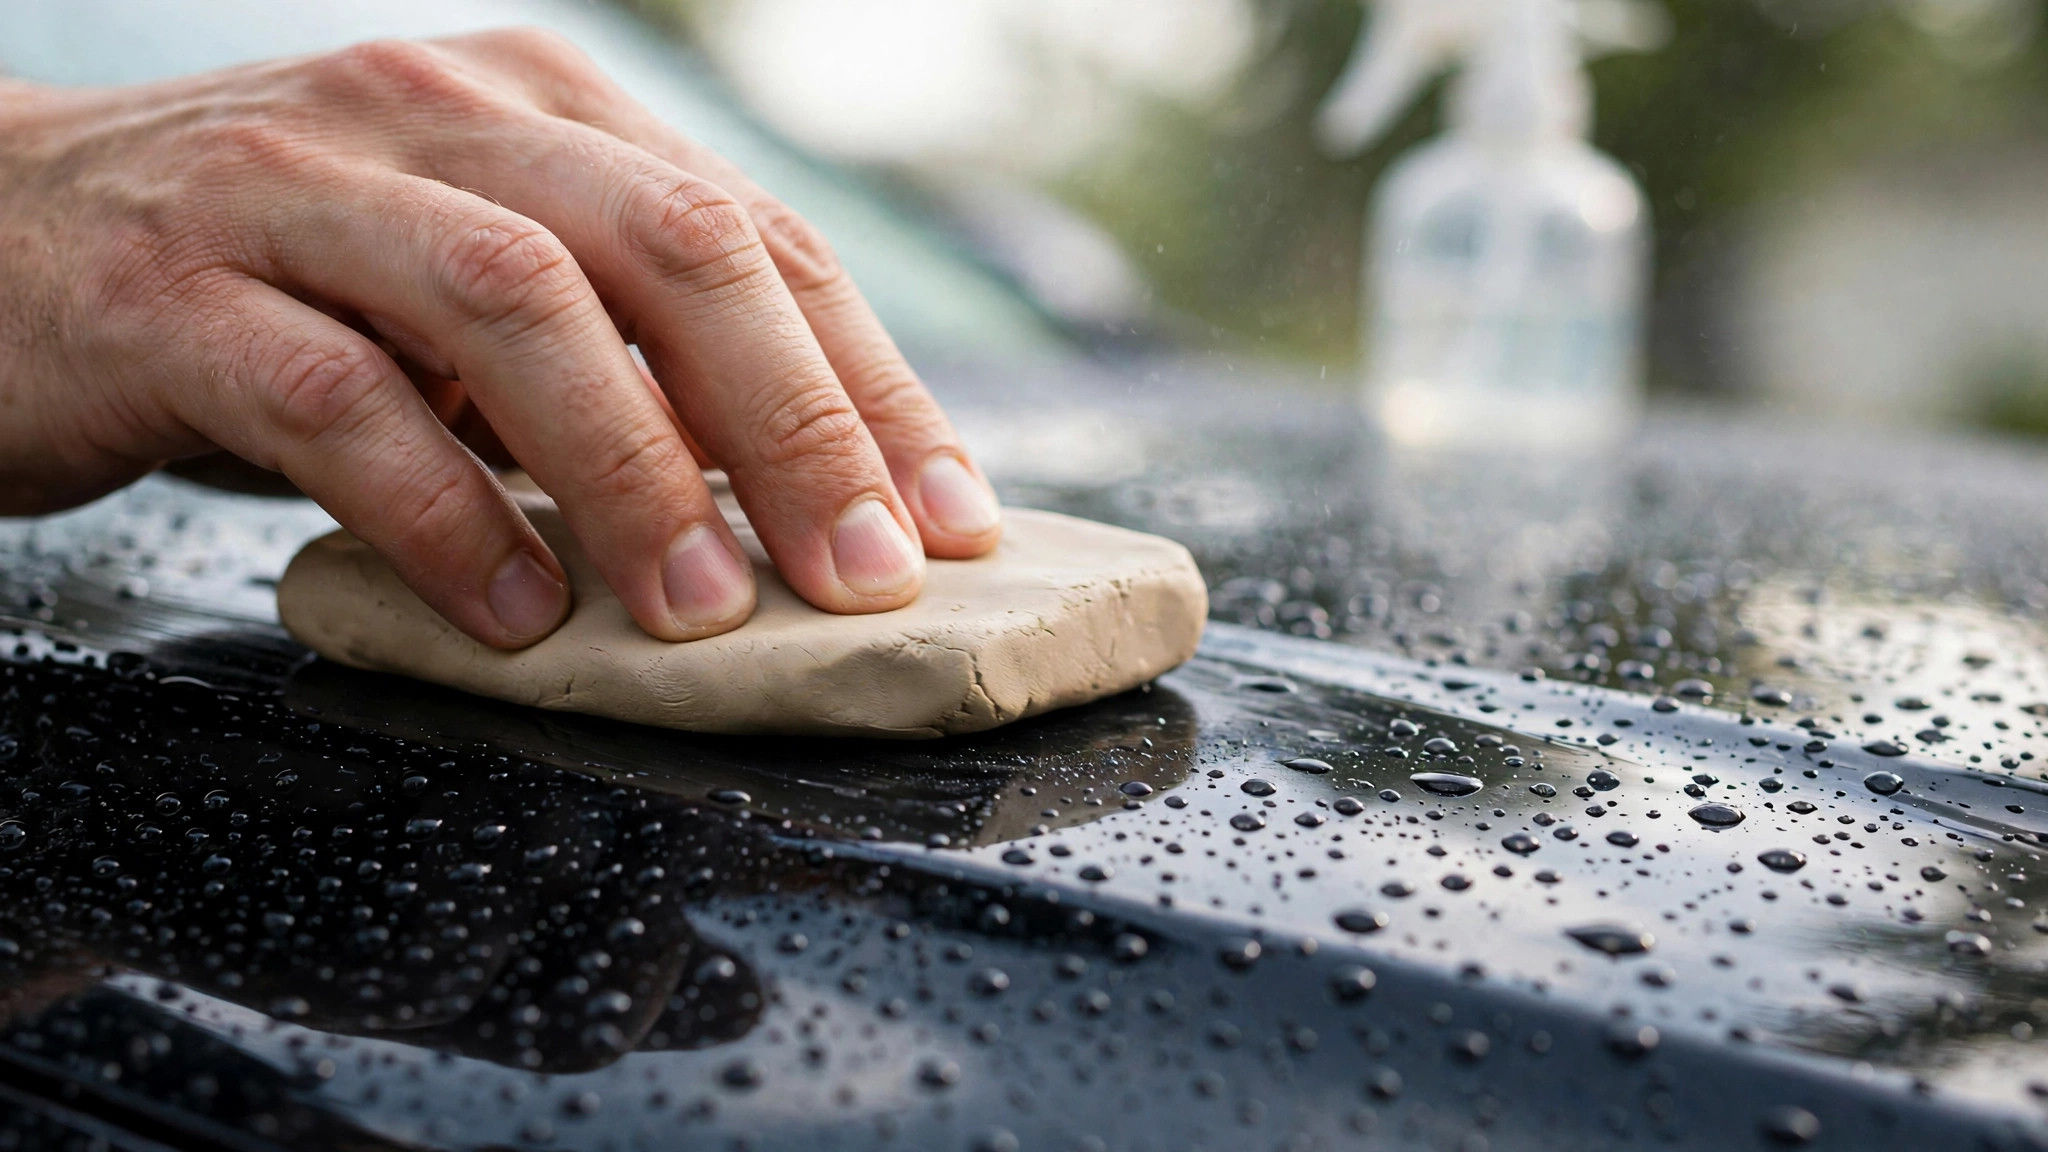
Step 2: Flatten a piece of clay into a palm-sized disc
Work one bar section at a time and keep the rest sealed. If you drop the clay on the ground, throw that piece away — it picks up grit instantly.
Step 3: Mist a small area with the Clay Luber spray
A 2 x 2 ft section at a time. The surface must stay wet; clay on dry paint grabs and can mar the finish.
Step 4: Glide the clay back and forth with almost no pressure
Let the bar do the work. You will feel it catch at first, then glide as the contamination lifts. Re-mist as needed.
Step 5: Fold and re-flatten the clay
When the face looks dirty, fold it in on itself to expose a clean surface.
Step 6: Wipe the section and check with the baggie test
The panel should now feel like glass. Move to the next section and repeat.
What comes next: Claying removes above-surface contamination only. Swirls and scratches are below the surface — that is the polish step. And because clay can strip wax, follow with protection; claying without re-protecting leaves the paint bare. Skip clay if the baggie test is smooth, if the paint was clayed recently, or right before a full machine polish on a schedule — the detailer will handle decontamination as part of prep.
FAQ
Does a clay bar remove scratches or swirls?
No. Clay removes contamination sitting on top of the paint. Scratches and swirls are defects in the paint itself and need a compound or polish.
Can clay damage my paint?
Only if used dry, dropped and reused, or pressed hard. Kept wet and clean, it is one of the gentlest steps in detailing.
Clay bar or clay mitt — which is better for a beginner?
A traditional bar for your first time: it is slower, but you feel exactly what it is picking up, which teaches you the baggie test properly. Clayed paint is ready for correction: Ultimate Compound vs Ultimate Polish explains which one your paint needs.